Free Delivery
 Upgrade to 24 Hour Tracked Delivery
How to Plant a Garden Border in a Day
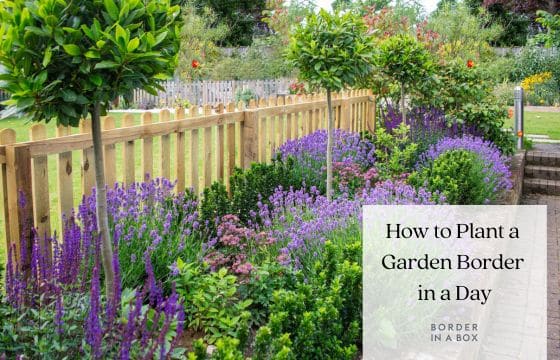
If you’ve ever wondered how to plant a garden border quickly and confidently, the good news is you can do it in a single day. Creating a beautiful garden doesn’t have to take weeks of planning or a huge budget. With the right plants, a simple layout and a clear plan, you can transform any outdoor space in less than a day. Whether you’re refreshing a tired border or starting from scratch, here’s my step‑by‑step guide to planting a garden border quickly, confidently and with gorgeous results.
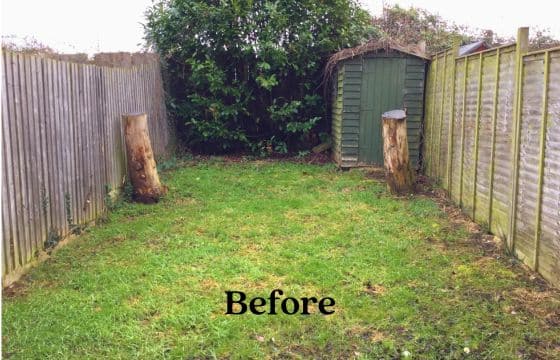
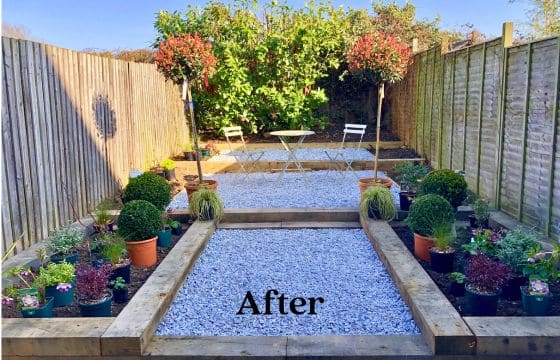
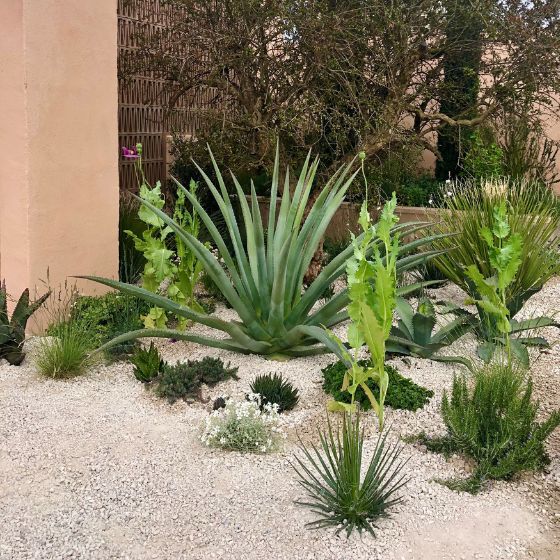
Here’s a garden transformation I created. The only access to the space was through the house, and the garden backed onto a train line, so the first step was to remove the dilapidated shed and rethink the layout as it sloped towards the house. The lawn was taken out and the whole area was tiered using wooden sleepers and finished with blue marble chippings to create structure and interest.
The borders were planted using the Border in a Box Shady design, which softened all the hard lines and brought the whole space to life. The plants added movement, colour and texture, turning a challenging plot into an inviting, beautifully balanced garden.
1. Choose the Right Spot
Before you start planting, take a moment to understand your space:
• How much sun does it get?
Full sun, partial shade or full shade will determine which plants will thrive.
Look at the garden on a sunny day and notice where the shadows fall. A neighbouring fence or shed can cast shade over the area you want to plant, so even if the garden feels sunny overall, the border itself may need shade‑tolerant plants.
• What’s the soil like?
There are four main types — clay, sandy, loam/normal or chalk — and each behaves differently.
A quick test:
- Squeeze a handful of soil.
- If it stays in shape and you can roll into a sausage shape, its likely to be clay.
- If it falls apart its probably sandy.
- Somewhere in between it will be normal/loam.
If you want to be sure, you can buy a simple soil test kit to check both type and pH.
Some plants (like azaleas) need acidic soil, so you’d use ericaceous compost. Plant labels may tell you what they prefer but if the information is missing a quick internet search or the RHS app should be able to help you.
• How big is the border?
Measure the length and depth so you know how many plants you’ll need.
As a general guide:
Aim for 5–7 plants per square metre for a full, well‑balanced border.
Use fewer for shrubs and more for groundcovers.
And of course, it depends on your planting style – some people love a full, cottage‑garden look, while others prefer a more spacious, modern feel.
This simple prep ensures you choose plants that will flourish, not just survive.
2. Prepare the Soil
Healthy soil = healthy plants. Spend a bit of time getting the ground ready for planting:
- Remove stones, weeds and old roots
- Loosen compacted soil with a fork
- Add compost or well‑rotted manure
- Rake the surface level
This gives your plants the best possible start and helps them establish quickly.
The No‑Dig Method (perfect for new‑build gardens)
If digging feels daunting (and I don’t blame you — I’ve been there!), the no‑dig method is a brilliant alternative.
You’ll need:
- Large sheets of cardboard (all tape removed)
- Compost or mulch (council green waste, homemade compost, leaf mould — or a mix)
Method:
- Cut the grass short where the border will be.
- Remove big weeds like docks; everything else can stay.
- Lay cardboard over the area to block out light.
- Add 15–20cm of compost or mulch on top.
- Firm it down (and fence it off if neighbourhood cats are curious!).
Once the border is prepared, you’re ready for the fun part – the planting which will bring your garden to life.
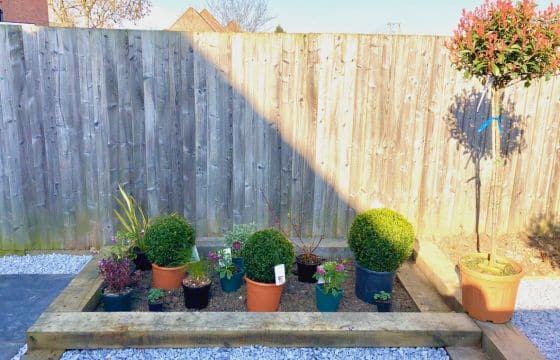
3. Lay Out Your Plants Before Planting Your Garden Border
This is the secret to a border that looks professionally designed.
Place your plants on top of the soil in their pots first. This helps you:
- See the overall shape
- Adjust spacing
- Group plants in threes or fives for impact
- Put taller plants at the back and shorter ones at the front
Take your time here — it’s much easier to move pots than replant.
4. Plant in the Right Order
Once you’re happy with the layout:
- Dig a hole slightly wider than the pot
- Water the plant while it’s still in the pot
- Gently remove it and place it in the hole
- Backfill with soil and firm gently
- Water again to settle the roots
Work from the back of the border to the front so you’re not stepping on freshly planted areas.
5. Add Mulch for a Polished Finish
Mulching is the quickest way to make your border look instantly finished.
It also:
- Helps retain moisture
- Suppresses weeds
- Improves soil health
- Gives a clean, tidy appearance
Use bark, compost or decorative gravel depending on your style.
6. Water Well and Enjoy
Give everything a thorough soak and step back to admire your new border.
It’s amazing how quickly a garden transforms with the right plants and a simple plan, and once you know how to plant a garden border, the whole process feels easy and enjoyable.
Want to Make It Even Easier?
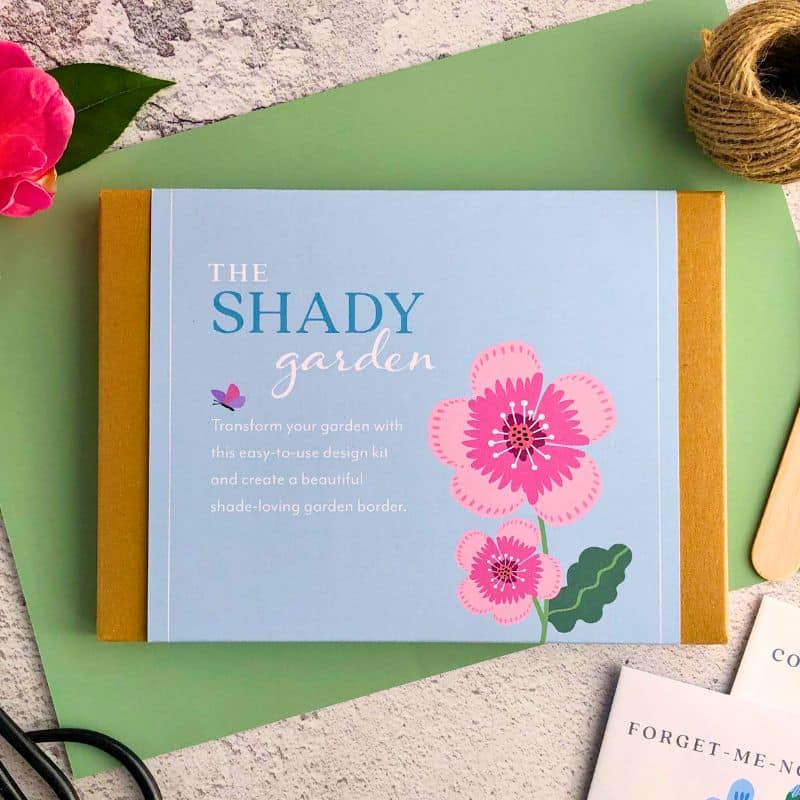
If you’d like to skip the planning and plant‑choosing stage, my readymade Garden Design Kits include:
- A professionally designed layout
- A full plant list
- Step‑by‑step instructions
- Tips for planting and aftercare
- Designs for sunny, shady, cottage, contemporary and wildlife‑friendly borders
They’re created to help anyone – even complete beginners – plant a beautiful garden in a day.
Visit Border in a Box readymade garden design kit shop – SHOP HERE